Tag Archives: Group Editor

Assign Driver to Vehicle

Assign Driver to Vehicle

In this lesson we are going to assign the driver you created in the previous lesson. Assigning a driver to a vehicle allows you to determine which person was responsible for a particular action. This is very useful when more than one driver operates a vehicle.
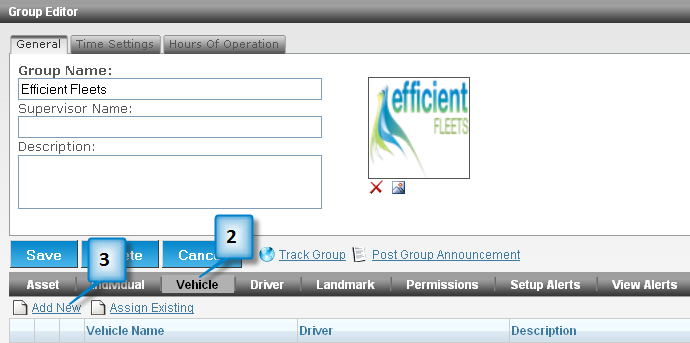
1. Click Vehicle.
2. Click the pencil next to the vehicle you created earlier.
3. Click the Driver tab.
4. Click Assign Driver.
5. Click Search.
6. A list of all drivers will be returned.
7. Click on the one you created previous lesson.
8. Click Assign.
9. Click Save.
10. Click on Group Name at the top of the screen.
11. Click on Vehicle
12. Verify that the driver has been assigned to the vehicle.

Tip: When searching for a driver, you can type part of the name to get a list of drivers. This is very handy when you don’t know how to spell someone’s name.

Add New Driver

Add New Driver

In this lesson we are going to add a driver to the system.

1. From the dashboard, click on Driver under the Group you created earlier.
2. Click Add New.
3. Enter First Name.
4. Enter Last Name.
5. Take a look at the other data tabs: License/Insurance, Contact Information, and Vehicle History.
6. You can enter more information if you wish.
7. Click on the Save button.

Configure Tracking

Configure Tracking

To configure a GPS device for tracking you need to have the IMEI/Serial number of the GPS unit. The number is on the sticker located on side of the unit. For CalAmp devices use the ESN number.

1. Click on Configure Tracking.
2. Optional: Choose Image.
The Image is the icon that will represent the vehicle on the map.
3. Select Hardware Profile.Choose CalAmp or Enfora.If you do not know your hardware profile consult your account executive.
The Hardware Profile has to match the type of device you have purchased.
4. Enter IMEI/Serial.
The IMEI is the unique ID for the GPS device. This must be entered correctly to properly track the item. For CalAmp units enter the ESN number.
5. Optional: enter the Phone Number for the SIM card in the GPS device.
6. Optional: enter 120 into the Reporting Frequency (Seconds) textbox.
7. Make sure Status is enabled.
8. Optional: select a trace color.
The trace color is the color of the line that shows the path an item travelled.
9. Click on the Save button.

Group Editor 3

Add New Vehicle

Add New Vehicle

1. From the Dashboard, click on the Group name you created in the previous lesson.
2. Click on Vehicle.
3. Click Add New.

Group Editor 1

4. Enter Vehicle Name.
5. Optional: enter Description.
6. Optional: enter VIN.
7. Optional: enter Make.
8. Optional: enter Year.
9. Optional: enter Model.
10. Optional: enter Color.
11. Optional: choose a photo.
12. Click on the Save button.

Group Editor 2

Group Editor

Group Editor

The Group Editor is where you can add, delete, or modify a vehicle, individual, or asset. You can also manage landmarks, alerts, and permissions.

In the Group Editor you can:

• Add a new vehicle
• Configure tracking
• Add a new driver
• Assign a driver to a vehicle