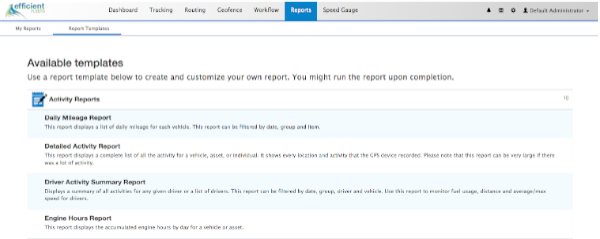
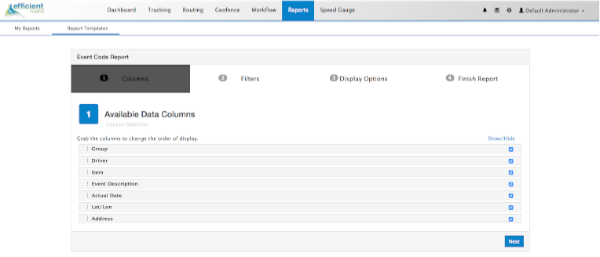
It is very easy to schedule any report to be delivered automatically by email to one or more people. A report template must be setup first before a report can be scheduled. Click here to learn how to setup a report template.
Schedule A Report
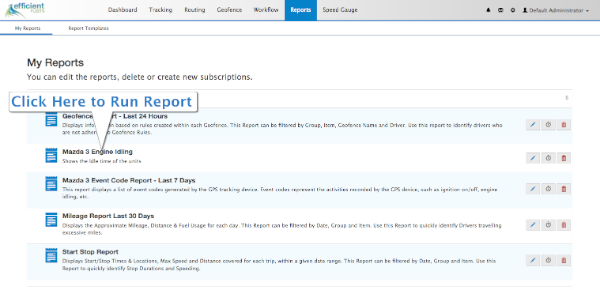
1. Click Reports.
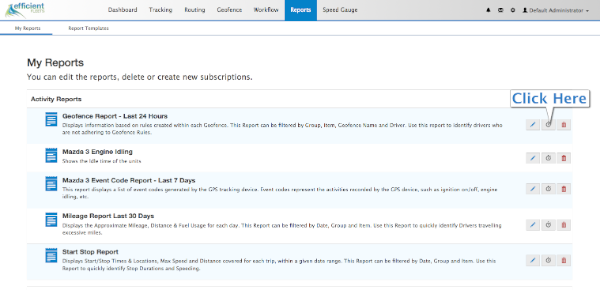
 2. Click the clock icon next to the report name to open the Subscription Report window.
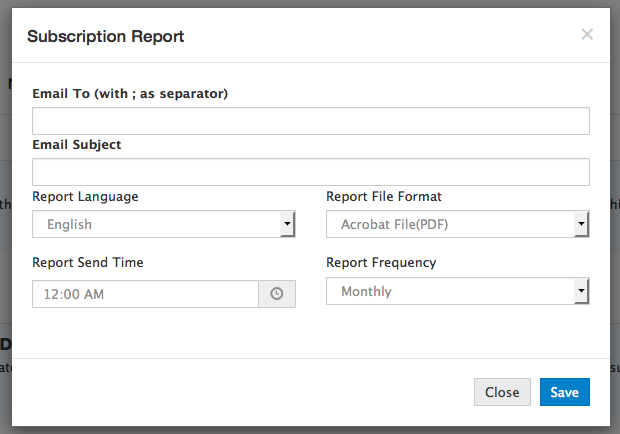
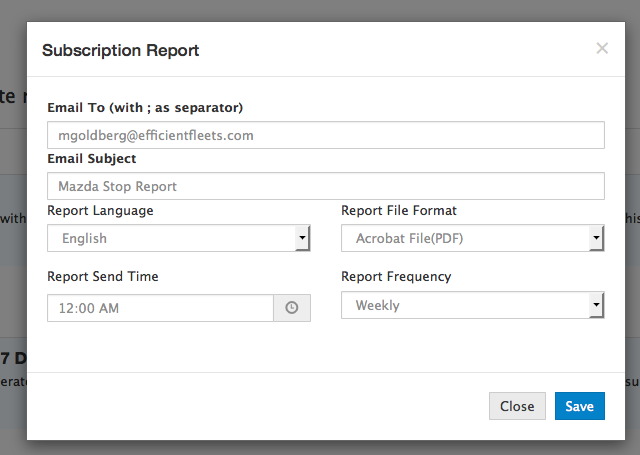
3. Fill out the form with the email addresses and email subject. Use a “;” to separate email addresses. Choose the Report File Format and the Report Frequency.
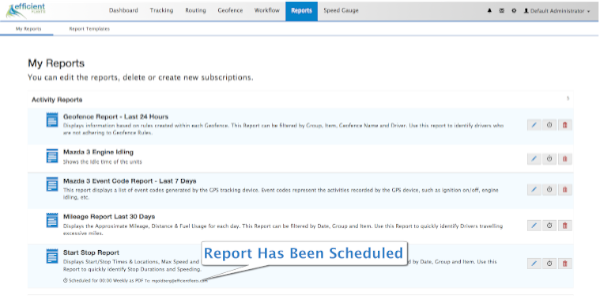
4. Click Save.
Related Posts