What Is A Circle Geofence?
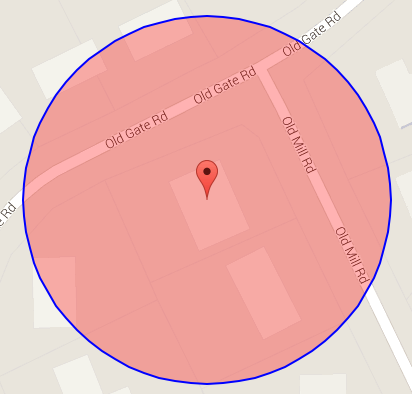
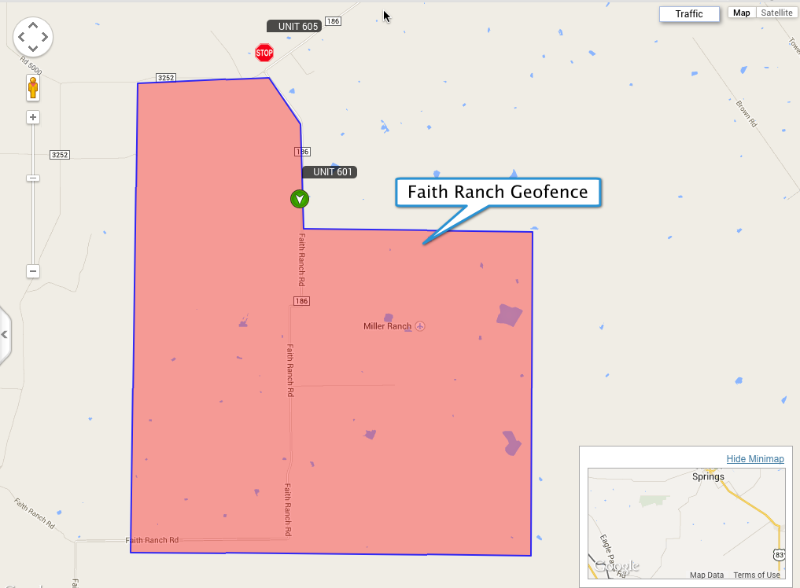
A circle geofence is a virtual fence that can track when an item (vehicle, piece of equipment, or person) crosses the boundary. A circle geofence can be used in a variety of situations. For example, when you need to verify when a vehicle visited a customer. Another good reason is to prevent your drivers from visiting places that are off limits, such as their home, girlfriend/boyfriend’s house, favorite bar, etc.
Creating a geofence is very easy to do. Please follow the steps below to get started.
Create a Circle Geofence
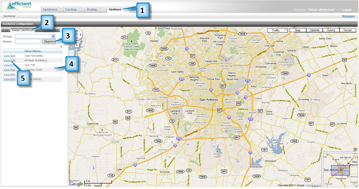
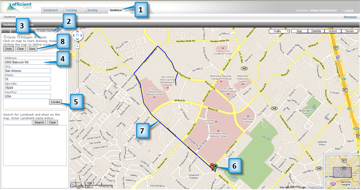
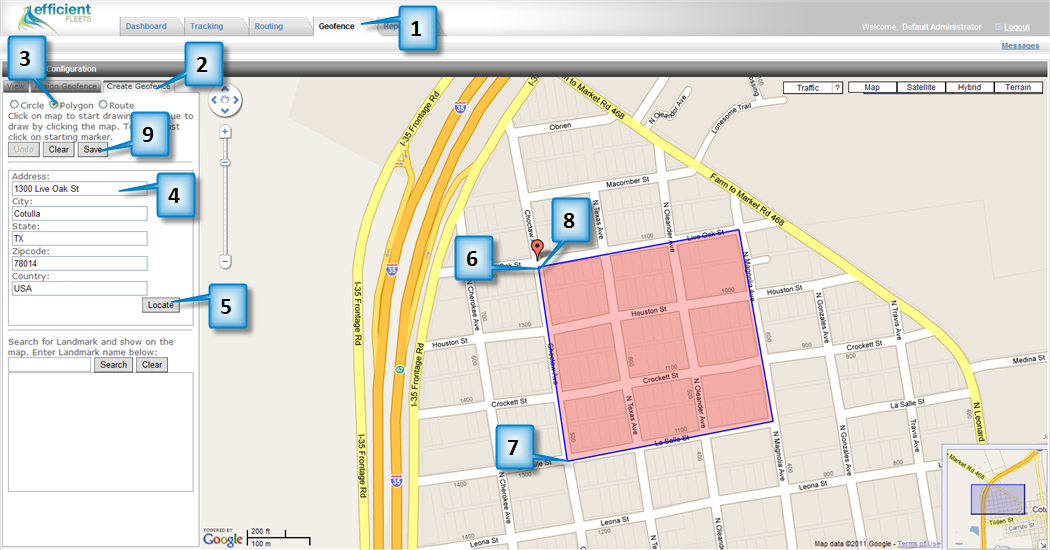
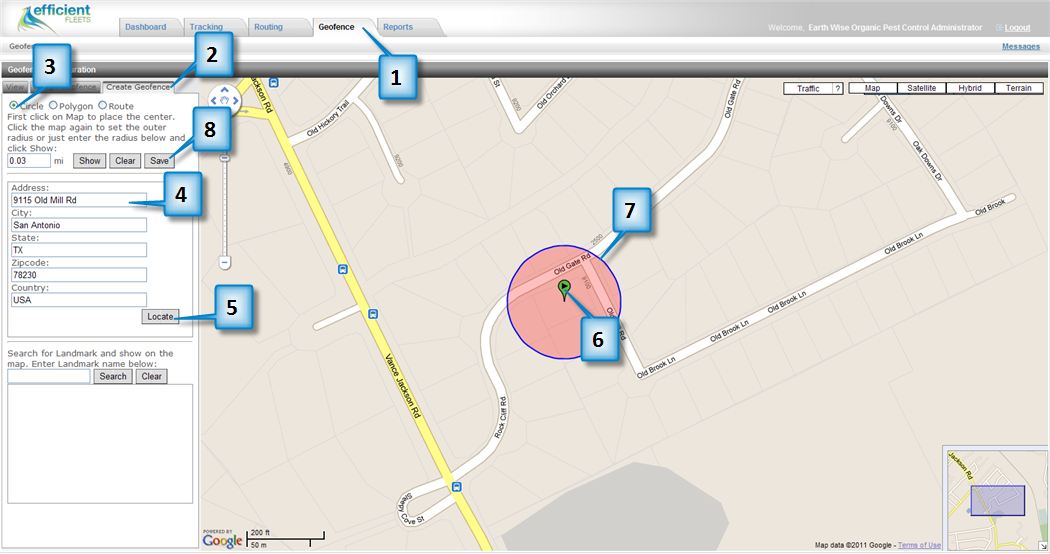
1. Click on the Geofence tab.
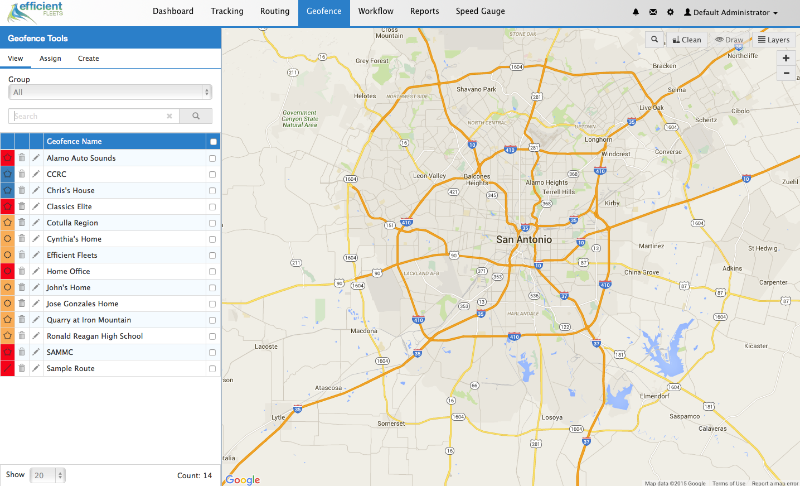
2. Click on Create.
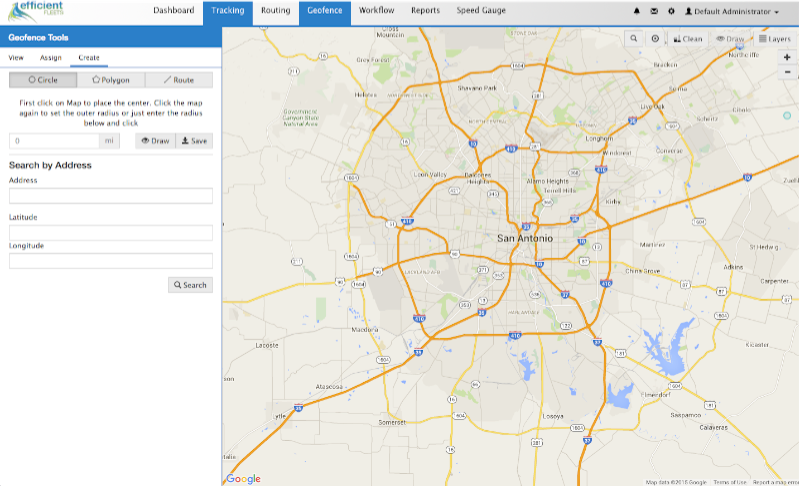
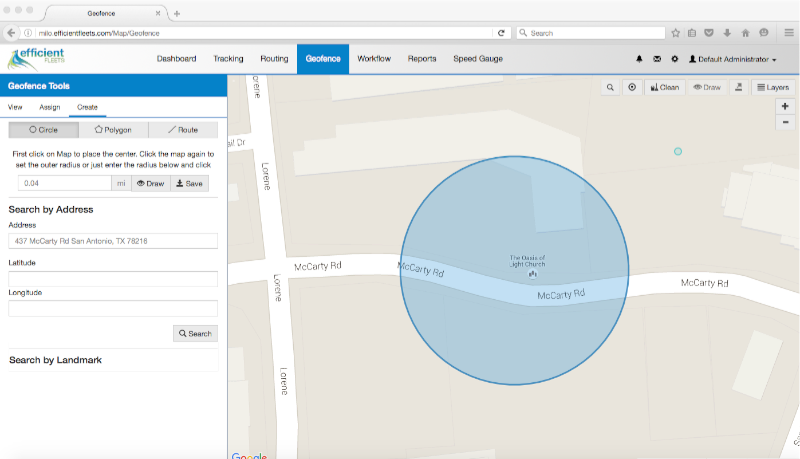
3. Enter an address into the Address box and then click on the Search button. Include the city and state for a more accurate result.
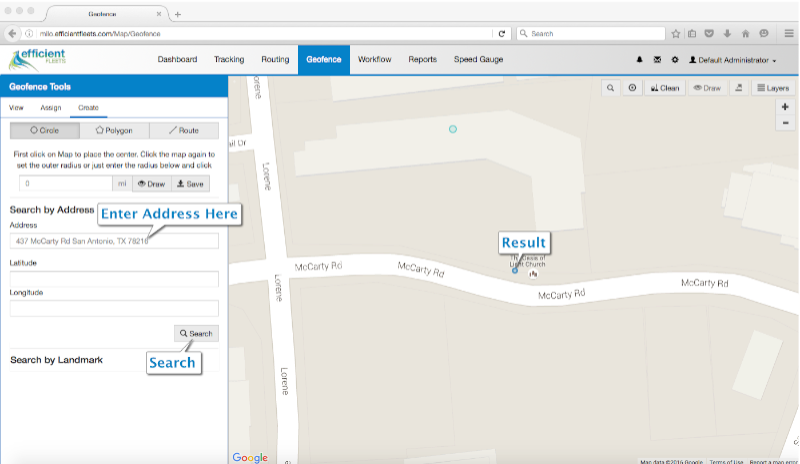
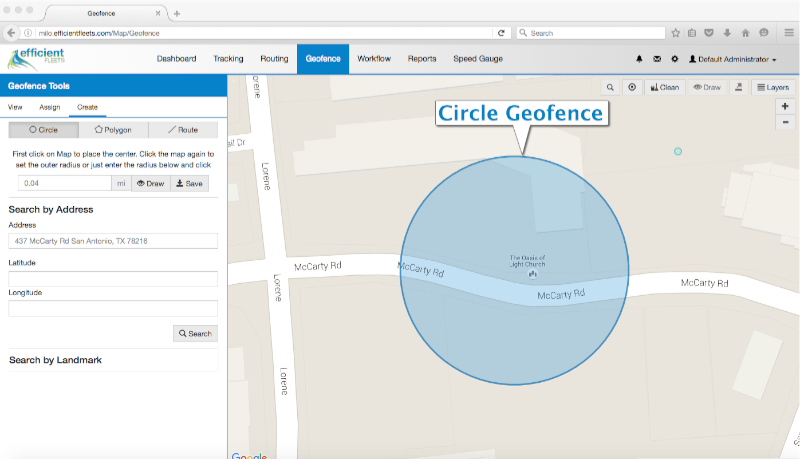
4. The Result from step 4 is the center of the circle. Click on the map with the left mouse button where you want the edge of the circle.
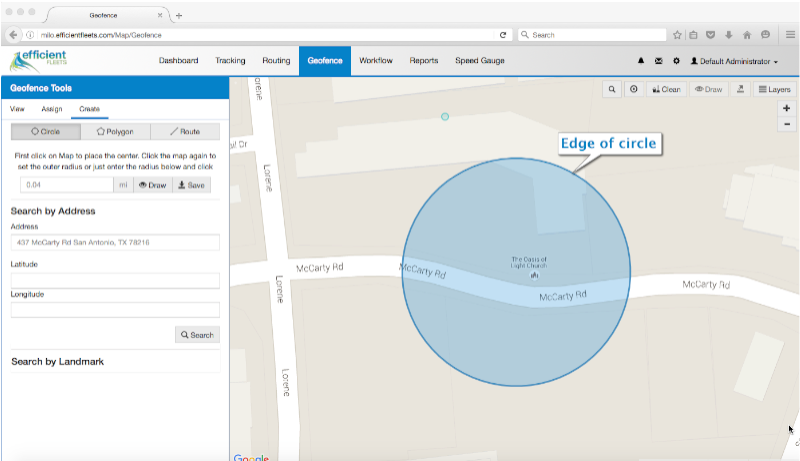
5. Click Save.
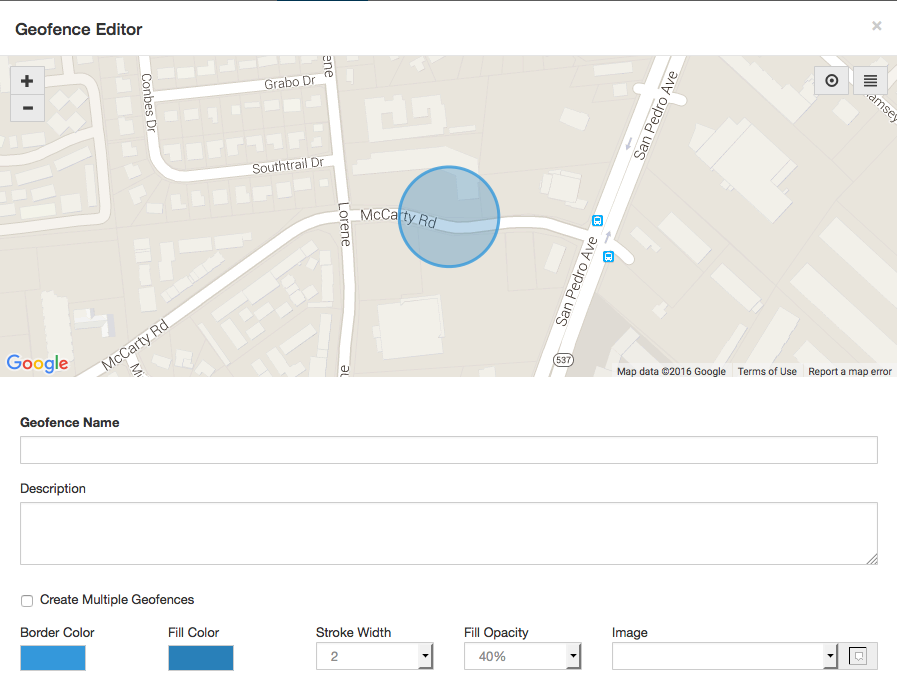
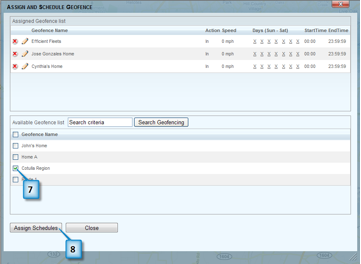
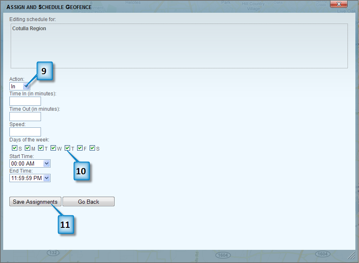
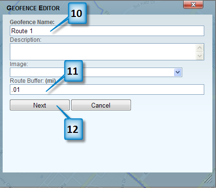
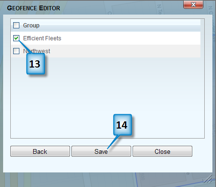
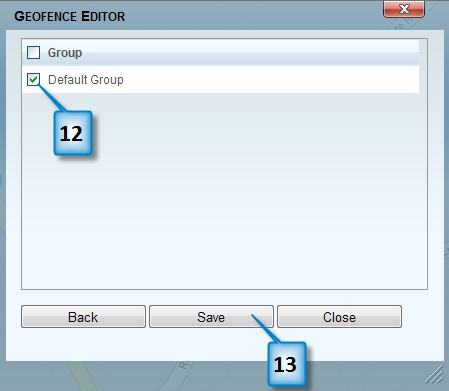
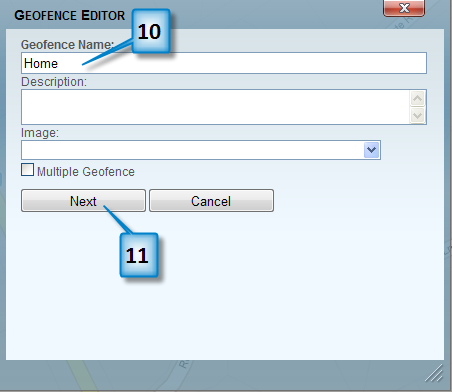
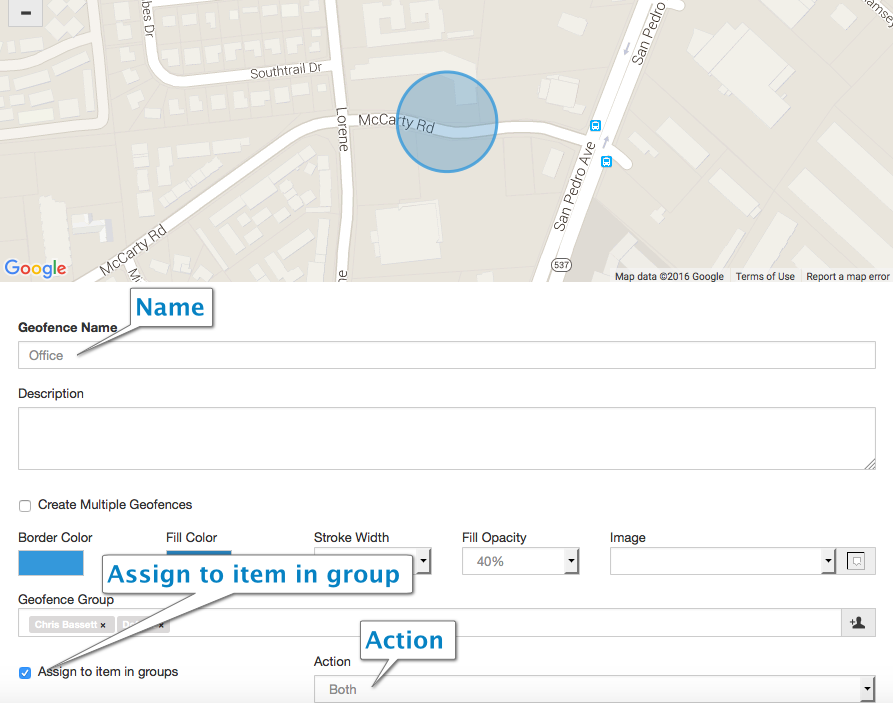
6. Enter a name. Then select Assign To Items In Groups and choose Both from the Action dropdown menu.
7. Scroll down the Geofence Editor. If necessary change the days and hours that the geofence is active.
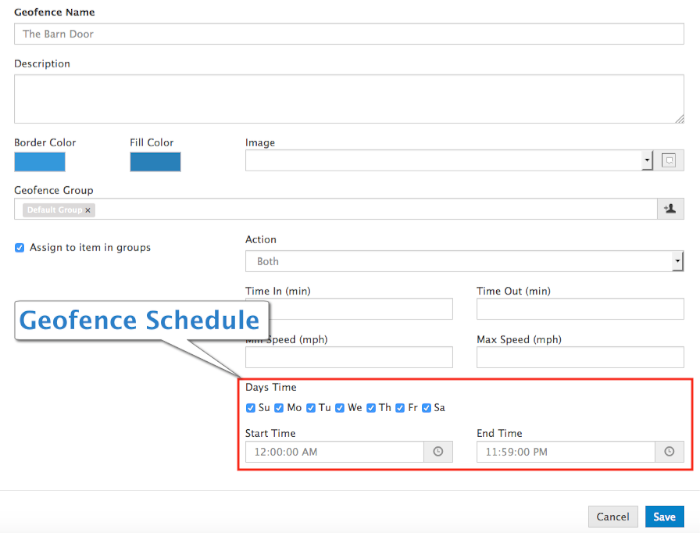
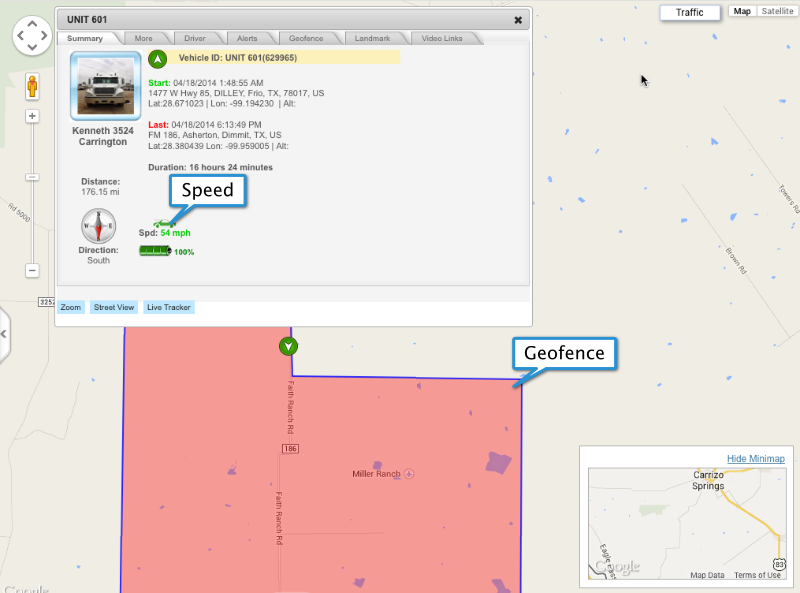
8. Click Save. The geofence is now ready to start recording when a vehicle enters or exits the boundary.
Next Step: setup a geofence alert. This step is not mandatory, but if you want to receive and/or record an alert then you need to set one up. Click here to learn how.
About Efficient Fleets
We are a full service GPS tracking company based in San Antonio, TX. We provide easy-to-use, affordable GPS tracking systems for fleets of any size. All of our systems are web based so you can monitor your assets from any where. Our solutions include GPS tracking, video cameras, and electronic logging devices (ELD). Please contact us at 888-777-4510 for more information or fill our our contact form.