Creating a route in the Milo FMS Dispatch center is easy to do.
Please follow the steps below to create a route. To use the Dispatch center you must have the Dispatch module enabled.
Milo Fleet Management System: tracking.EfficientFleets.com
How to Create a Dispatch Route
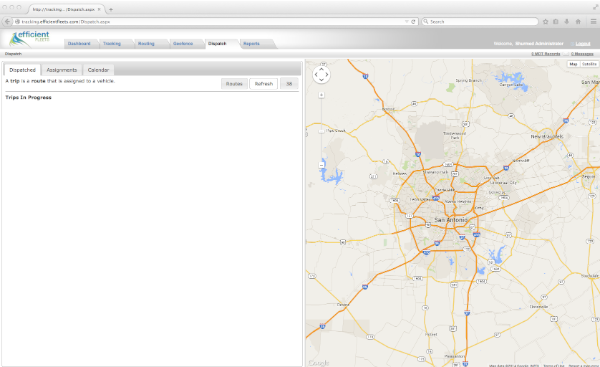
1. Click on the Dispatch tab.
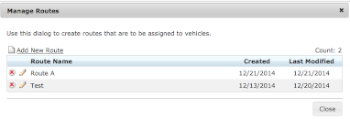
2. Click on the Routes button.
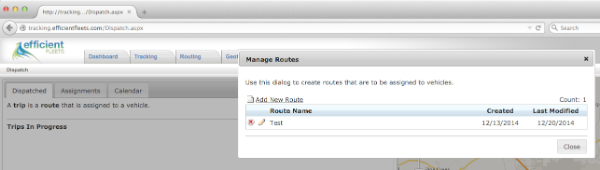
3. Click on Add New Route.

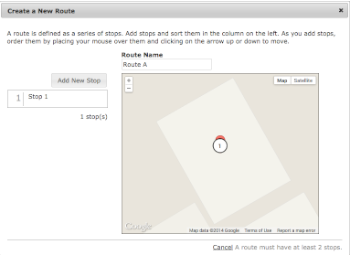
4. Enter a name for the route.
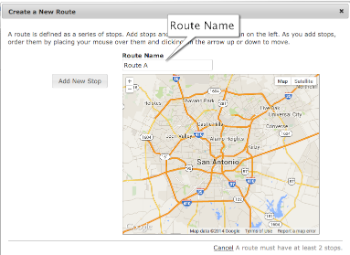
5. Click on Add New Stop. Each route must have at least 2 stops.
3 Ways to add a stop:
*Existing POI (landmark)
*Existing Stop
*Address
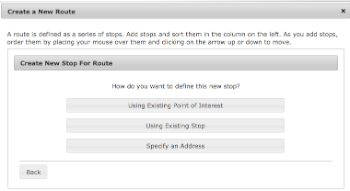
6. Click on Specify an Address. Enter the name and address for 1 stop.
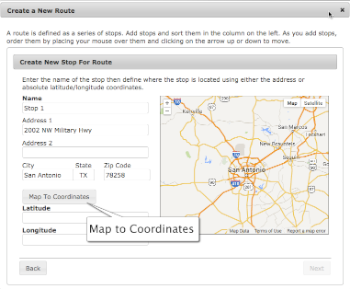
7. Click on the Map to Coordinates button. This places a marker on the map for the stop.
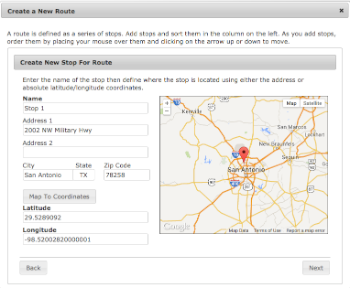
8. Click Next.
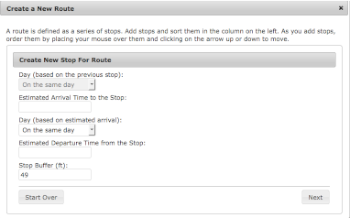
9. Complete the arrival and departure times for this stop. The information entered does not have to be exact. It designed to help you determine how efficient your fleet is operating.
Estimated Arrival Time to the Stop: select a time that the vehicle is supposed to arrive.
Day (based on estimated arrival): choose when the vehicle is supposed to leave. “On the same day” means the vehicle will be leaving the same day that it arrived. “On the next day” means that the vehicle will depart the day after it arrives.
Stop Buffer (ft): the buffer size to determine if vehicle has arrived at stop. You may need to adjust the buffer size if the vehicle cannot get close enough to the stop.
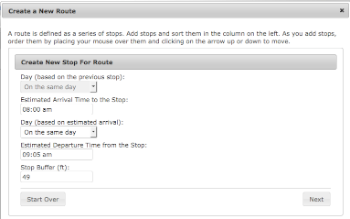
10. Click Next.
11. Click Add New Stop to add the 2nd stop. Follow steps 4 – 10 to create the next stop.
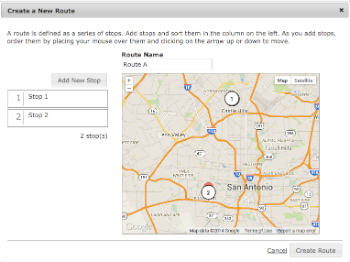
12. Click the Create Route button to finish the route.