


Geofence
A geofence is a virtual fence. You can setup alerts to warn you when an item enters or exits a geofence. You can create three types of geofences: circle, polygon, or route. A circle or polygon geofence is used to define an area. A route is used to keep an item on a designated path. There are two steps to creating a geofence: drawing and assigning it to an item.
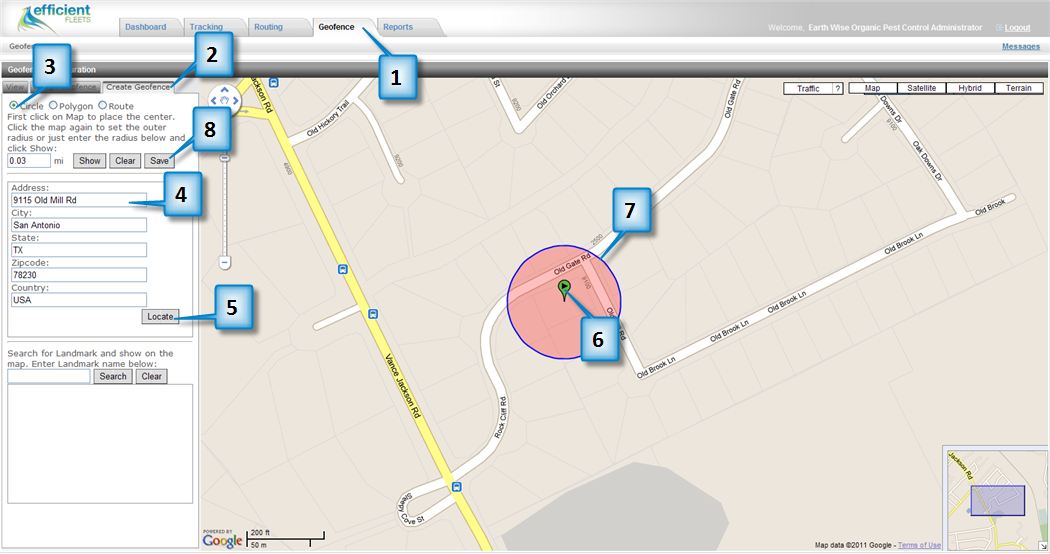
Create a Circle
1. Click on the Geofence tab.
2. Click on Create Geofence.
3. Optional: Click on Circle. By default the Circle should be selected.
4. Enter an address including city, state, and zip.
5. Click Locate. You should now see an icon on the map indicating where the address is located.
6. Click on the icon to create the center of the circle.
7. Click the map again to set the outer radius.
8. Click on the Save button.
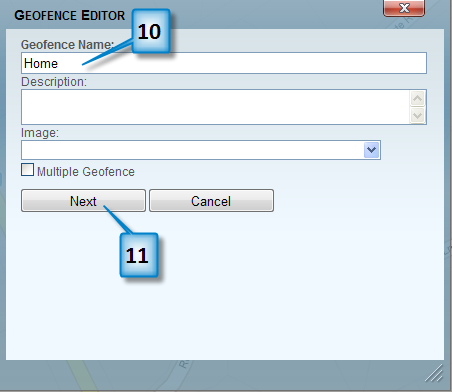
9. You should now see the Geofence Editor box.
10. Enter a name for the geofence.
11. Click on the Next button.
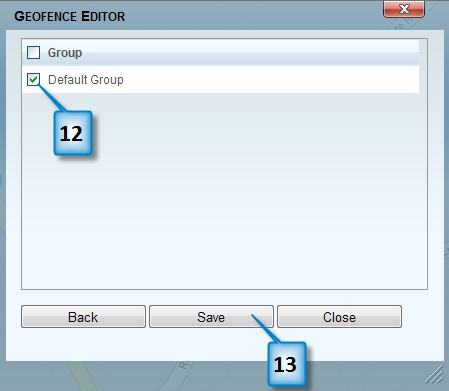
12. Click on the checkbox next to the Group(s) that you want to assign this geofence to.
13. Click on the Save button.
Tip: You can enter the radius in the mi textbox (next to the Show button) instead of clicking on the map.