Assigning a dispatch route to a vehicle in the Milo FMS is easy to do. Please follow the steps below to send a message to the Garmin.
Requirements: Dispatch Center module
Milo Fleet Management System: tracking.EfficientFleets.com
How to Assign a Dispatch Route
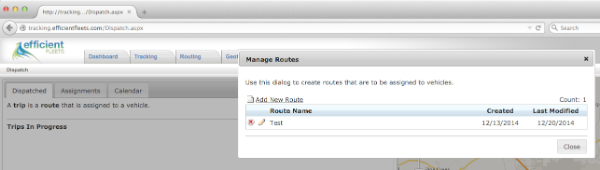
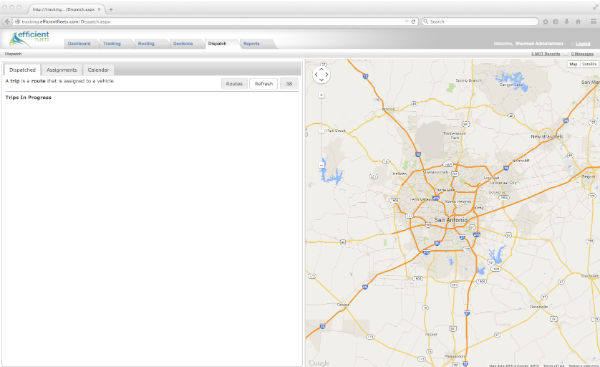
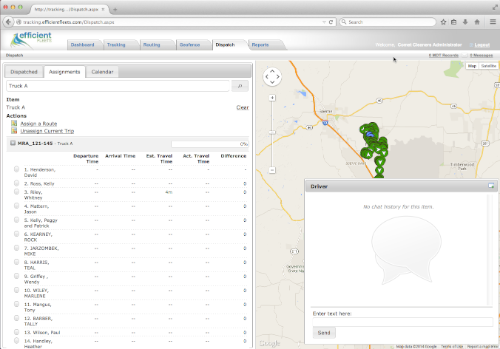
1. Click on the Dispatch tab.
2. Click on the Assignments tab.
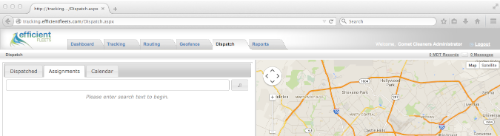
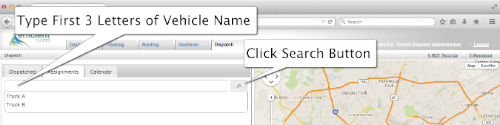
3. Search for the vehicle that you want to assign a route too.
Click on the search button or type in the first few letters of the vehicle name in the text box.
4. Click on the vehicle name that you are looking for.
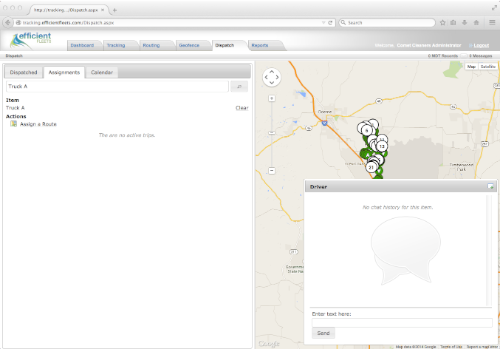
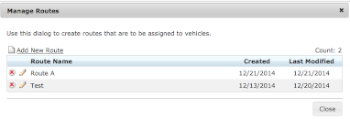
5. Click Assign a Route
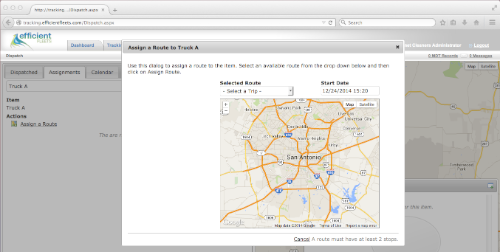
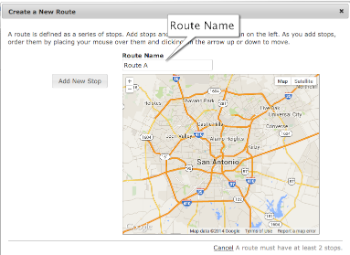
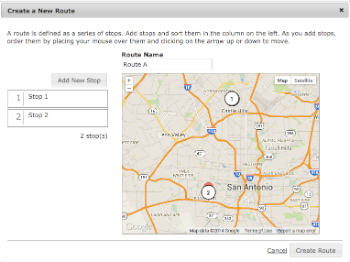
6. Select the route from the Selected Route dropdown menu.
You can schedule a route for a future date. Click on the Start Date text box to choose the date. By default, the route is assigned immediately.
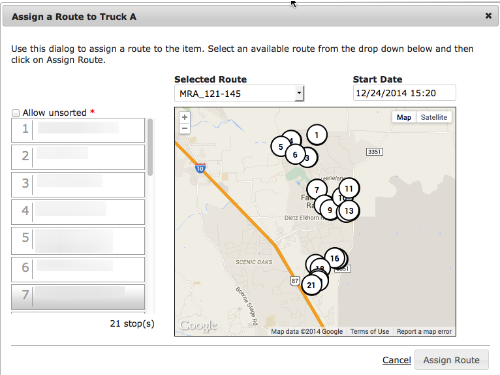
7. Click on Assign Route.
The route is now assigned to a vehicle. The route will be transmitted immediately to the Garmin in the vehicle if the start date (step 6) is today’s date. If it is a future date, then the route will be sent on that date.